The humble “point and shoot” is where most of us get our start in photography these days. But as you dig into photography and notice your friends are shooting with fancy DSLRs, it’s easy to feel like your “inferior” equipment is holding back your photography. While that might be true to some extent, there’s still a lot you can do with even the simplest of cameras!
Only a poor artisan blames the tools
So, in defense of simple cameras everywhere, I present you with some of the very best photos I’ve taken using my iPhone 4S or my Canon PowerShot ELPH 300 HS along with some how-to guides on how to replicate my results and get the most out of your point and shoot camera.
Links to Amazon.com are affiliate links.
Canon PowerShot Photos
Sugar Swirl Cookies
Get crisp edges and blurred backgrounds with “Macro” mode.
This sugar cookie scene was set up next to a window for natural mid-day daylight (circa mid-September). A piece of white foam core board makes the soft grey background, and the cookies are sitting on top of a simple white plate (on top of a cloth napkin and placemat).
I set my Canon PowerShot to “Macro” to give the camera a smaller depth of field. This means that things at a certain distance will be in focus, and everything else will softly fall out of focus. You can see that effect at work here – the sugar crystals are sharp, but the cookies in the background are a bit fuzzier. The background blur isn’t as pronounced as what you might achieve with a DSLR, but I love the crisp edge on the close cookie, the sharp sugar crystals, and the true to life colors. The background blur could be punched up in Photoshop, too, if desired.
The camera was held just few inches from the cookies and I pressed the shutter button halfway to give the camera a moment to focus, and then the rest of the way down to actually take the shot.
Not bad for an inexpensive point and shoot!

Point and shoot Macro (“flower”) mode made those sugar crystals sharp and the background soft.
Sushi Betta
Daylight is the Star!
These photos are several years old, back from my early days of photographing crafts for Etsy. My first attempts at photographing Sushi the plush betta, with her delicate colors and soft flannel fabric, looked like this:

Using the flash was pretty bad. Just… no.

But turning the flash off wasn’t much better, now she’s too dark.
At this point it’s easy to just blame the camera and try to salvage the second shot in Photoshop. But then I had an idea: I threw my living room verticals open and moved my “photo shoot” to the floor near the window.

Now that’s much better!
Holy wow! I can’t believe all three shots came from the same camera. There’s an important lesson here: lighting matters! (And composition, too. Turning Sushi to face the camera helped a lot.)
Tower of Terror at Dusk
Long exposure time and a stable camera capture tiny, faraway details.
We usually just talk about product photography here at DIYCraftPhotography, but you probably want to do more than that with your camera! Here is a nice contrast to the previous two photos: some architectural shots from Disney World!
I went to Disney World last year (YAY!) and brought along my Canon PowerShot plus a travel-friendly bendable Joby tripod with the intention of taking long-exposure shots of various Disney attractions. I took nearly a thousand photographs at Disney World and walked away with a few dozen great ones. (Lesson: always take tons of photos!!)
This shot of the Tower of Terror at sunset required two things: a completely stable camera and a long exposure time. A long exposure means the camera’s shutter is open for a longer period of time (a couple seconds, in this case). Any motion would blur the end result, hence the small tripod (small because I can’t carry a 4 foot tripod onto rides and Disney doesn’t like them in the park anyway). The longer exposure time lets the camera soak up more details in the low light.

This photo came out of MY camera?!
Getting this shot was not as simple as plopping my camera down and waiting for the picture to fire. It took a lot of trial and error in the parks, and I shot the same subjects over and over and over. Below are some of the not-so-great shots I took on the way to the great one you see above.

Overexposed! I tried a too-long shutter time. 4 seconds was obviously overkill.

I tried to stand very, very still for a 2-second exposure shot. Nope, can’t do this without a tripod.

I tried taking a dusk photo with my iPhone 4S. Low light scenes are way outside the iPhone’s capabilities, so I’m glad I brought the PowerShot!

Almost at full night-time here, and the $200 Canon PowerShot is still taking pretty sharp photos with a long exposure and a small tripod.
I pushed this humble Canon PowerShot to its limit at Disney World! I love its long exposure time, adjustable ISO, optical zoom capabilities (I was not standing that close to the Tower), low noise at high ISO settings, and compact body design. If you’re in the market for a $200-ish point and shoot with a lot of versatility, this is the one I personally use and I love it:
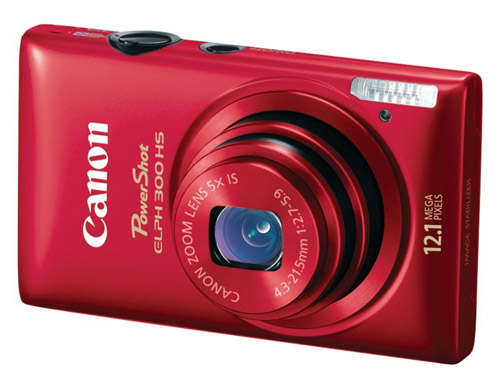
Click to see the Canon PowerShot ELPH 300 HS on Amazon.com
See also: DIYCraftPhoto’s Camera Recommendations for Every Budget
Curious about the tripod I was using? I brought along a Joby GorillaPod – this bad boy went on every ride and survived countless setups, take downs, and experimentation. I also just played with it a lot, bending it and straightening it while I waited in lines. I wrapped it around lamp posts, railings, sat it on garbage cans, and rocks. It rules. Disney let it into the parks without a problem, too.

Don’t worry, only 1 in 10,000 gains sentience and starts walking around on its own.
iPhone 4S Photos
Okay, enough about the point and shoot – we know it’s awesome. What about a smartphone camera? Can you do anything good with that? Yes – but there’s a catch. You have to be shooting in daylight. But they say the best camera is the one you have with you, and my iPhone 4S is always with me!
Sailboat on Puget Sound
Freeze action with bright lighting
I shot this with an iPhone 4S through a window on a moving ferry. Daylight did the heavy lifting here. There’s no way that bird would have come out so crisp and perfectly frozen in the air in dim lighting – the camera would have held the shutter open longer to compensate for the low light, and the bird would have become a blur.

Camera: iPhone 4S. Shot from a moving ferry (through a window, no less).
Here’s another fun little secret about this photo: I took 4 photos as this boat passed by, and I’m just showing you my favorite one. Always shoot more than you think you need – you can always pick the best photo later and delete the rest.

September Sunflowers
Yet more proof that lighting is everything.
I wish the iPhone was better at bokeh (blurring the background), but this shot came out pretty incredible nonetheless.

Sunflowers photographed with an iPhone 4S on a clear October morning.
Snow-capped Mountains
Clouds and rocks look good in daylight.
Okay, how about something bigger and further away? My iPhone 4S took a pretty nice photo of Mt. Rainier through a jet window even though it was quite far. The mid-morning lighting undoubtedly helped this shot:

Aerial photo of Mt. Rainier taken by an iPhone 4S
So what can’t you do with a “low end” camera?
The two biggest limitations I’ve found with my point and shoot camera and my iPhone camera are:
- It’s hard (if not impossible) to achieve strong bokeh (blurry background)
- The iPhone 4S struggles with details and motion in low-light conditions
I went to Disneyland a while back but I didn’t bring my PowerShot, just my iPhone. This is where I discovered just how bad the iPhone is at capturing low lit, far-away subjects.

Another example of low light struggles: my sister’s fast-moving Chihuahua is just a blur in this iPhone 4S photo taken in typical kitchen lighting.

One last tip: how to get great photos with your point and shoot camera
Practice! All those extra modes and settings do cool things, you just have to learn how to pair the right settings with the right situation. If you’re shooting in dim lighting, stabilize your camera with a tripod. If you’re trying to capture something that’s moving around, turn on some more lights or go outdoors. Working with what you’ve got can be very satisfying, and point and a shoot camera or a smartphone camera can take pretty incredible photos once you get the hang of it!
Have you taken some great photos with a point and shoot or smartphone camera? Tell us about it in the comments! Feel free to link to your Etsy shop, blog, etc. We want to see some great photos from humble cameras!
Some links in this article are Amazon Affiliate links. Read DIYCraftPhotography’s full disclosure here.
Related Reading
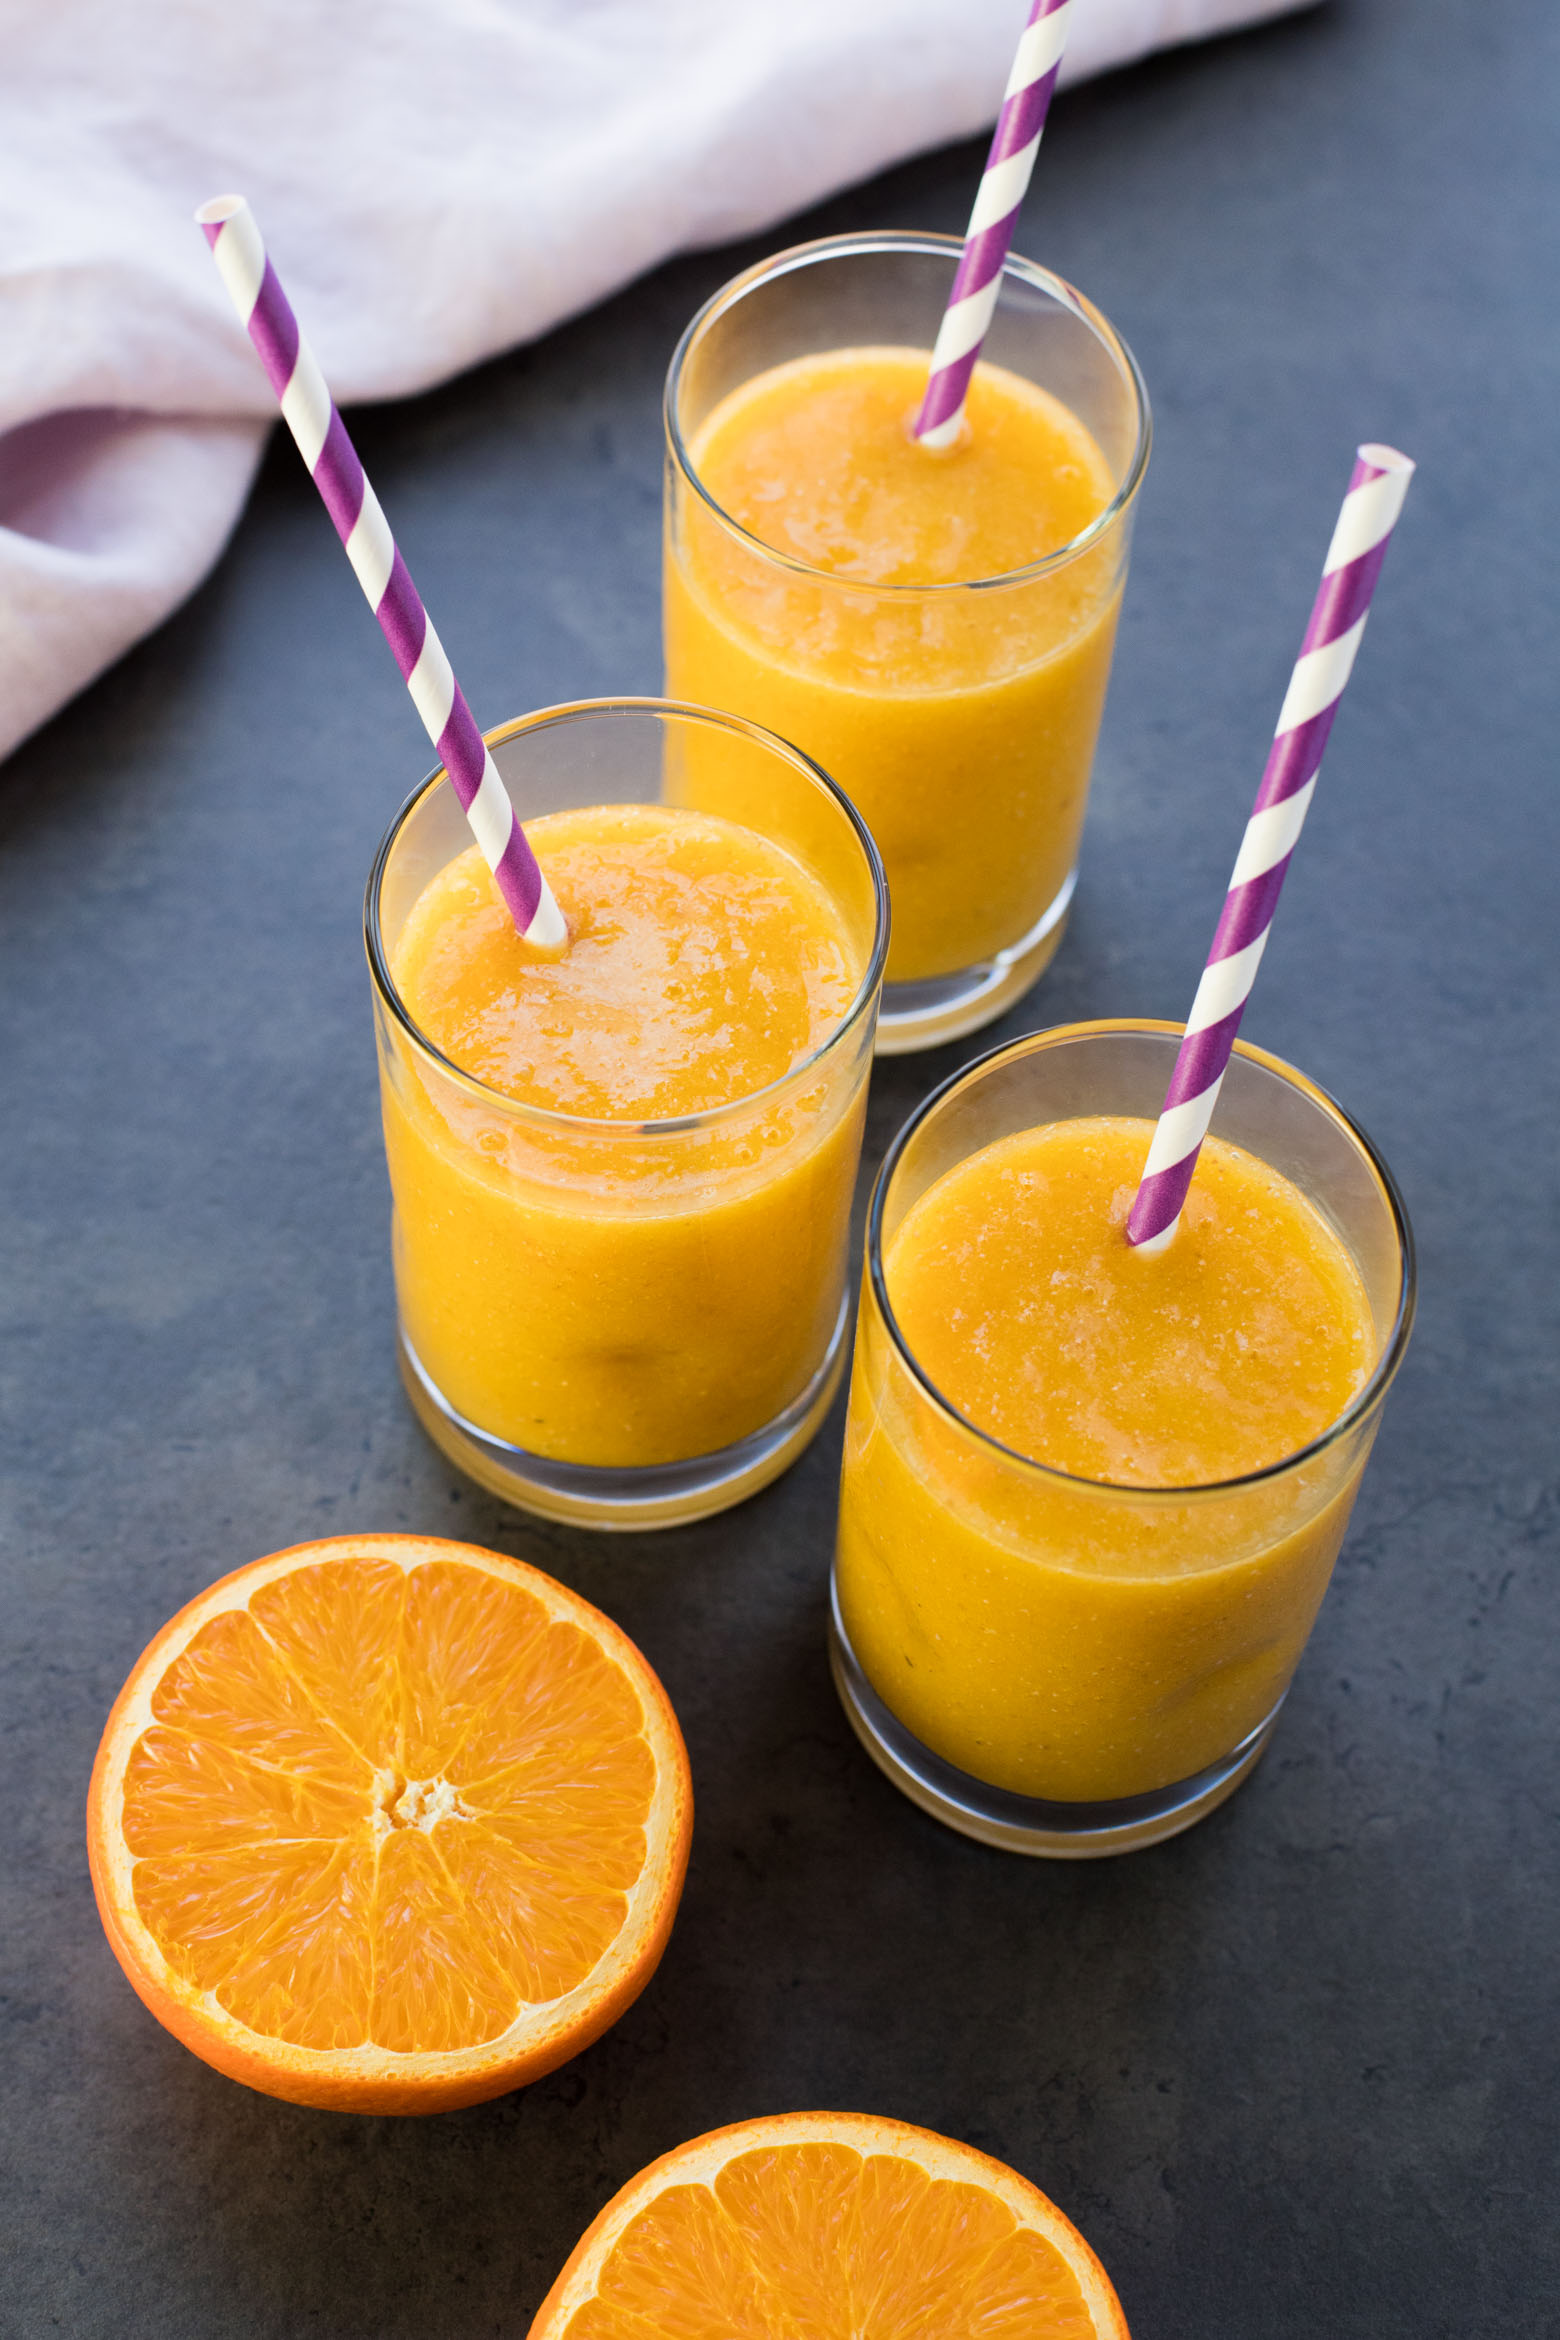
10 Easy Ideas to Dress Up your Food Photography
Food photography styling and composition tips